Showing posts with label recycling. Show all posts

Tuesday, December 11, 2012

Crafting : Scrapbuster Pinwheel Quilt

Today I'm going to share my next December craft - a square lap quilt for cosy nights, hot chocolate and reading by the fire!

In this quilt:

1. I tried out the traditional pinwheel quilt pattern.
2. I made my own binding (2nd to date!)
3. Attempted mitered corners!
4. I refined my quilting techniques such as minimizing bunching up as I laid out my quilt sandwich.
5. This project is a good scrap buster! I used up a good bit of my scrap fabric lying around.


IMG_8007

Assembling the pinwheel squares:

1. I cut out 72 pieces of 3 7/8" squares of plain fabric and 72 pieces of 3 7/8" squares of printed fabric.

2. Take one plain square and one printed square and align them with right sides facing.

3. Draw a diagonal line on one of the wrong sides of this pair of fabric.

4. Sew 1/4" away on both sides of this diagonal, and then cut the fabric down the diagonal.

You should get 144 squares made up of one plain and one printed fabric. This is your basic block. Now arrange them to your taste by putting 4 blocks together to create a pinwheel block, like the ones pictured above. You should end up with 36 pinwheel blocks.


IMG_8010

Now to assemble the quilt top (all with 1/4" seam allowance):

1. Stitch 6 pinwheel blocks in a row. You will have 6 rows.

2. Then stitch the rows together. You will end up with a square quilt top, 6 blocks by 6 blocks.


And then assemble the quilt by laying the batting between the quilt top and the quilt backing, like a sandwich. The quilt top and quilt backing should have their right sides facing out.

I've learnt from past experiences to safety pin my quilt sandwich at regular intervals, all over the quilt, to prevent the batting from bunching up on the inside.

When you are sure you got your quilt sandwich laid out as flat as you possibly can, you can proceed with stitching the sandwich together to secure the batting in place.
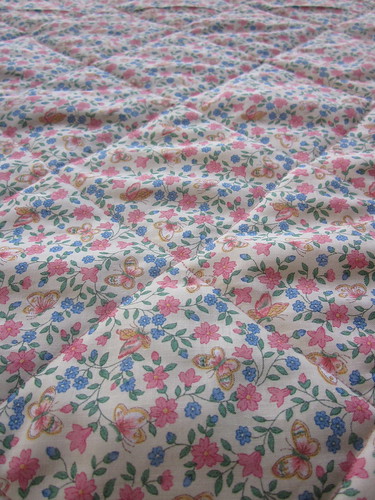
IMG_8019

I have chosen to stitch-in-the-ditch by sewing over the existing stitches of my blocks, so it looks like this on the back.


IMG_8031

Align and pin the binding so the raw edges meet the edges of the top of the quilt. Start the binding on one side of the quilt, but in the middle. Leave a tail of about 5" to 8" on both ends, but leave about a 3" gap between the binding tails. Like in the picture above.


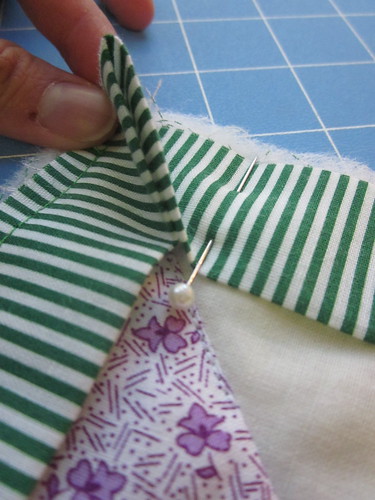
Here I'm going to attempt to explain how I miter my corners. Remember this is my first attempt:
IMG_8034

When pinning the binding to the quilt top, leave an excess triangle when you come to a corner. This will give you enough binding to work with when you flip the binding over to the back of the quilt. Pretend you are pinching a triangular corner.

Once the pinning is done, sew the binding to the quilt top with a 1/4" seam allowance. When you reach the end, lay the two tails flat on the quilt and mark where the two ends meet. Sew the binding together (not on the quilt) at the mark, and trim off excess. Then sew the binding onto the quilt, like before, with a 1/4" seam allowance.

Trim excess batting bulk before turning the binding to the other side. I find pressing the seams as I flip the binding helps a lot!


IMG_8037
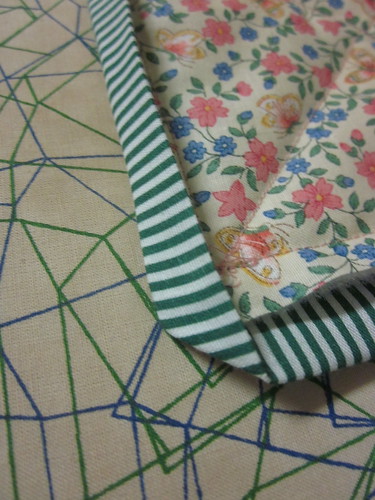
Here's how I attack the corners. Attempt one side of the quilt at a time!
Press and fold one side of the binding down first.
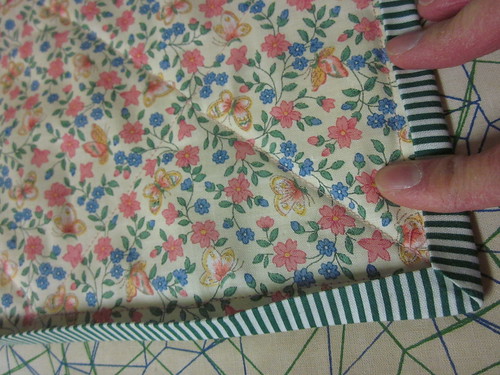


IMG_8038
Then press and fold the other side down. It should fall in place nicely!
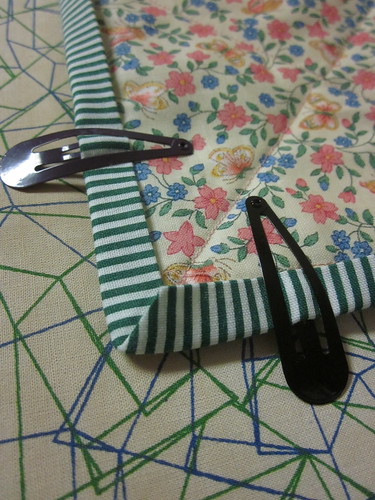


IMG_8039
Secure with binding clips ( or in my case, hair clips!) Then carefully hand sew, with slip-stitching, the binding to the back of the quilt!
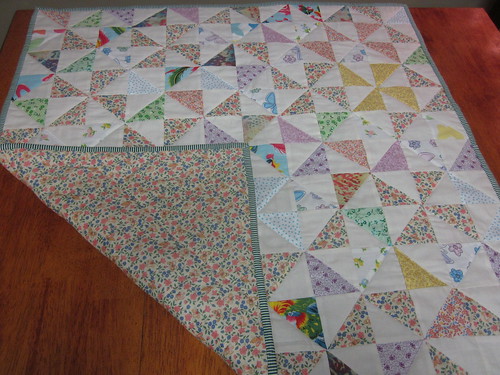

IMG_8042

Ta-daa! I'm ready for the cold winter nights!


Linking up to some crafty fun here!


Friday, August 10, 2012

World Elephant Day August 12!

Big 5 - Elephant
Via


Friends, August 12 is World Elephant Day!


If you have even a tiny speck of affection for these gentle pachyderms, please help do one of following:


1. Spread the word about World Elephant Day, to increase awareness. A little action goes a long way. Someone might give a little donation, a teacher might introduce it into his / her class some time next week. You never know. Share the link on your Facebook status, tweet about it. Share it on your blog. Just start talking!

2. Don't buy souvenirs made of endangered animal parts. World Elephant Day is by extension bringing awareness and attention to illegal wildlife trade. Why anyone would want an antelope horn or tiger paw eludes me. Go to WWF to find something you can be passionate about. It don't have to be elephants!


3. Buy green products. Like this Elephant Poo Paper!

4. Support the African Elephant Programme. For most of us, the gift of money is the simplest way of showing your support.

5. Here is one more way to help! To show my support, 50% of my sales on Etsy in the month of August will go towards the African Elephant Programme. If you have been thinking about getting something from my Etsy shop, or want a customized item, here is one more reason to buy now!


Disclaimer: I do not look to profit from option #5! I'm just showing my support through this, it's not a shameless plug! :p


Tuesday, July 10, 2012

Crafting: Reconstructed pillow case dress / top

So i bought a set of two striped pillow cases from Goodwill one day, because I was going to attempt the Little Dresses for Africa charity, after procrastinating for such a long time. I first read it on Nana Glo's blog, Glo Sews and it seemed like such a simple project to attempt.

When i finally sat myself down to make the dress, i realized i didn't get any bias tape and I so wasn't in a mood to make them...

So I did a little free hand reconstruction on the pillow case to make myself a top instead!

I used a pattern for a ladies apron to cut out the neckline and armholes. When I cut the pieces out, they looked pretty promising as a mini dress, especially when I loved the stripes so!

IMG_6436

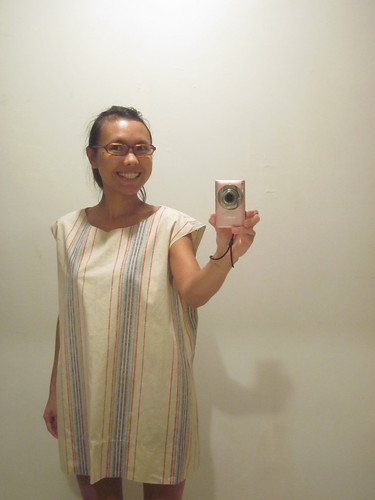
Alas, when i sewed the shoulder and side seams together, and tentatively tried it on, I looked like I was wearing a feed sack! I was so amused I had to take a picture of myself in it!

IMG_6441

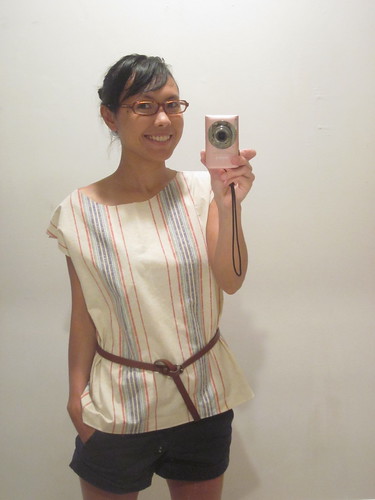
So i took in some fabric at the armholes (too big!) and sewed three darts on the back and trimmed off the bottom to make it a long top, instead of a short dress. Much more presentable.

IMG_6452

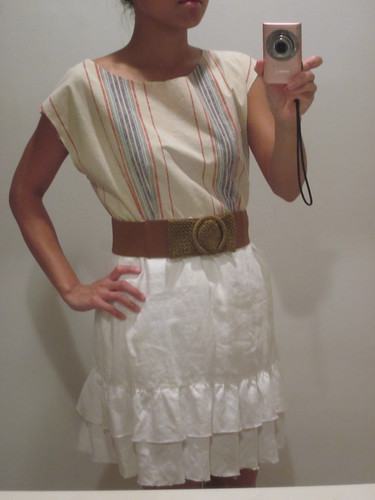
Here is another way I would somehow wear it.

IMG_6468


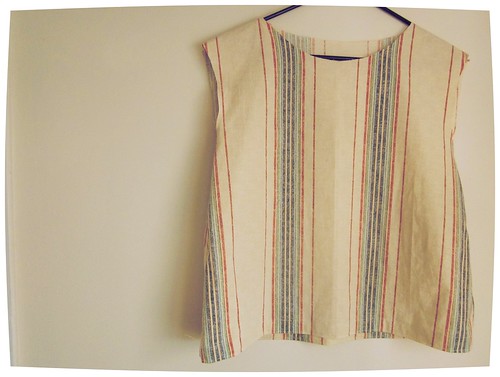
And so, I present yet another one of my ghetto snip-and-sew RTW piece.


rtw

And oh yes! Only four more days left in the Spreading Good Cheer Giveaway for a turquoise necklace! So if you haven't checked it out, do so now! You might just be the lucky winner!


Sunday, June 3, 2012

Found: Crates and Barrels

Ever since my weekend on the Chadbourne Farm, I've been dreaming of redecorating our house, or just adding special touches to the home.

Here are some nifty ideas refashioned from crates and barrels. So neat!


Via
I'd love a beautiful organic bucket like this!


Via
Crates on wheels!


Via
Half a barrel makes a whole side table!


Via
Be creative with your spaces


Via
Vintage barrel repurpose


Via
This one is my favorite. Repurposed from pallets into wall shelving units. How creative!!

Have an inspiring home decor week ahead!

Monday, June 27, 2011

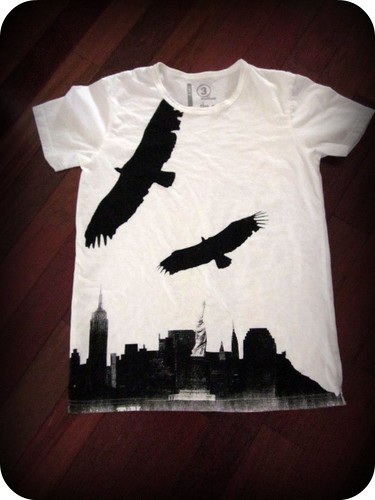
Crafting on a Monday: Tee-Shirt Recon Tutorial!

Yes! Being very good and productive today. Made a bag for another friend and did a little stash bustin' (double yay!!!). Dug out the J-man's tee shirts. Put them through the wash and got ready to cut them up!

This shirt has never been worn before. I bought a size too small for him. Well, actually it was just nice, but he insisted the belly showed. So, he never wore it. Hmph.

IMG_2915

I liked the print on this shirt, and I love racer back tops.

So, I got out my seam ripper (insert sinister laughter)

First, i ripped the seams of the sleeves, and took the sleeves off.
Then I ripped the side seams. And last I ripped the collar seams and removed the collar.

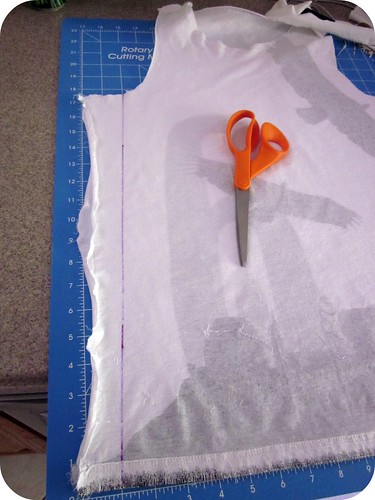
All that's left holding the front and back of the shirt together are the shoulder seams. By keeping the shoulder seams together, you can easily pull it over your head and 'wear' it to measure out how much excess material you need to trim off. I did that and pinned the sides together while wearing it, to give it a snug fit. Then, without removing the pins, i (very, very) carefully took the shirt off by pulling it over my head again.

From my pinning measurements, I drew a line down the shirt, cutting off two inches at the top down to one inch at the bottom (see photo for clarification). This is so the shirt will taper inwards, giving it a more feminine shape (i hope!)

IMG_2927

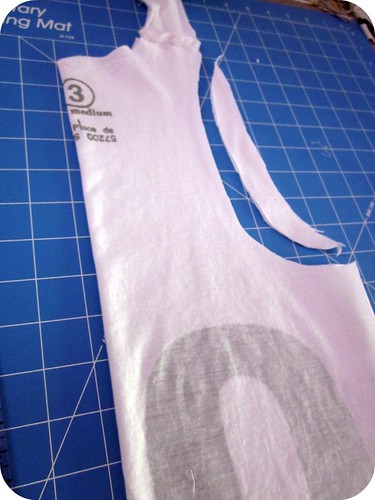
I also decided i wanted the back panel to be narrower, more like a racer back if you know what i mean. And because only the shoulder seams are intact, i could flip the front part of the shirt away from me and concentrate on the back.

I folded the back panel in half lengthwise. Then proceeded to trim off the excess material. I took a wild stab, no measurements needed or it really depends on how you like it to look.

IMG_2930

Now to put the top back together again. Pin the shirt with right sides together. Sew the edges of the sides together. Now my shoulder seams were looking a little rough, and i was afraid after seam ripping near it, the seams would start to fall apart. So I cut off the shoulder seams, pinned it and re-sewed the shoulder seams together.

I apologise for the lack of photos, and if the instructions are not very clear. I was too impatient and excited, i forgot to take photos along the way. Feel free to add comments on how to make this tutorial clearer!

Anyway, here is the end product! Yaay! One more new piece in the wardrobe. I might just make it for the next Me-Made Challenge!

racer

Daisy approves too!

Oh yes, don't forget to enter the giveaway, if you haven't already!

Wednesday, June 1, 2011

Thrifting: Goodwill Hunting 2 (Fabric Hoarding)

This post is long overdue, but i never found the time to sit down and take pictures of my finds. But now, here they are:

Fabric thrifting

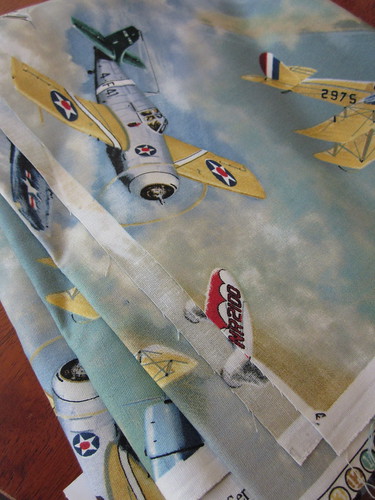
airplane prints
Airplane fabric! A great fabric for making a kid's backpack (ha! as if i know how) or cute zippered pencil cases! I bought this fabric because i have something similar

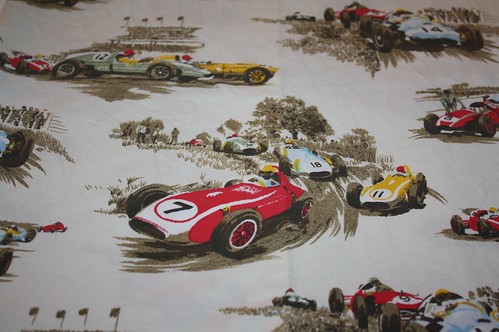
race car
I bought this off Etsy. Someday, i will know what to do with them... You clever people got any suggestions?

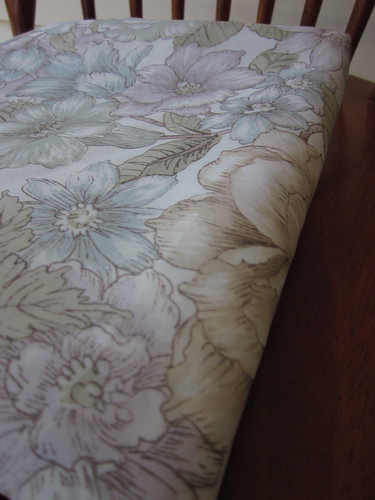
Flowery shower curtain
The label says 100% polyester, and i'm thinking it was a shower curtain before. It has a slight coat of water proofing texture to it. Very tricky to cut, took me insane number of minutes trying to cut a square 20" by 20" for my gardening apron project. But it turned out so lovely.

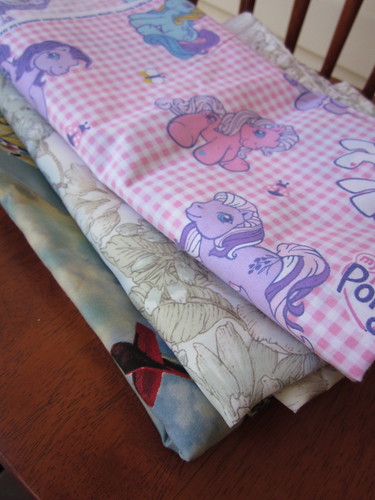
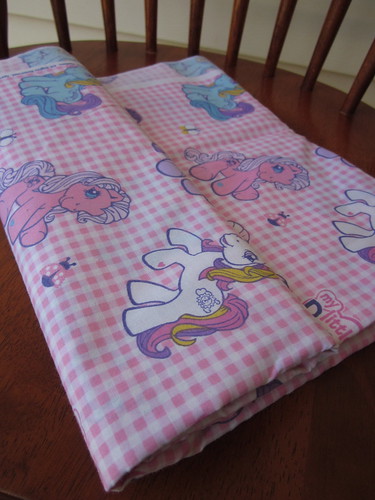
My Little Pony!!!
My favourite! *nostalgic* So excited when i spotted this. Maybe i can make another apron with this material, this time for kids, like a painting smock. What do you think?

Friday, May 20, 2011

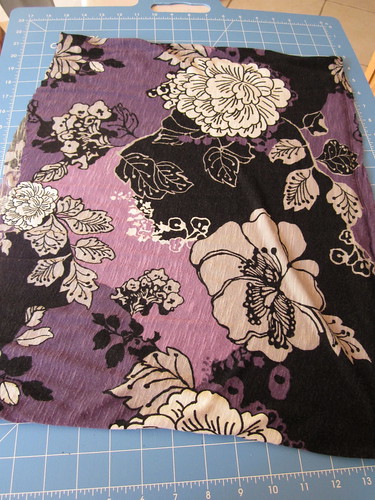
Crafting: Ruffled Blouse Reconstruction

I was re-organizing my dresser today and found a bunch of clothes that I had stashed away awhile ago. They are all a few sizes too big (which explains why they were "stashed away") but I couldn't bear to give away because I loved the prints. I thought maybe one day I could reconstruct them into something more my size, and along the way I guess they just got forgotten. Terrible hoarder!!! *tsk tsk*

Anyway, today is one of the days when I AM going to do something about my hoarded stash.

I picked this one to experiment with.

IMG_2121

I'm not a big fan of gathered collars and ruffled sleeves, i feel like they look kinda frumpy on me. So, snip-snip-snip. Bye bye collar, ruffles and kerfuffles.

IMG_2128

I'm going to make myself a tube top!

But hang on! this looks strangely similar to the beach dress reconstruction! Could it work? Barely containing my excitement, i zigzagged the cut edges before turning the hem in about 1.5" to sew a casing for my 1" wide elastic band.

I threaded the elastic band all the way through (with a safety pin this time *yay!*) and decided to try it on before i sewed the casing shut. Just to see how it falls on my silhouette.

Thank goodness i did that. I guess making an elastic-waisted skirt is kinda different from making an elastic top. It didn't look too flattering.

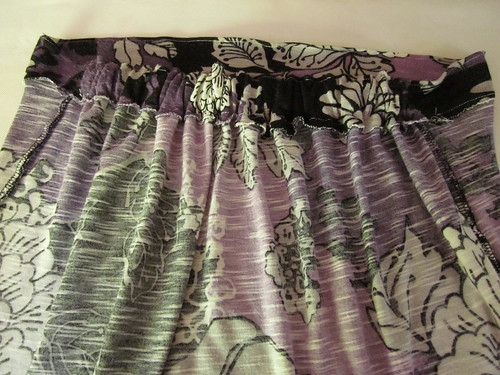
Then i decided that the elastic should go only at the back of my top. I removed the elastic from the front, and left about 9" of elastic in the back.

IMG_2137

Now, how did i come up with the magic number 9" measurement, you might ask. It's a little bit of actual measurement and a bit of fumbling in the dark. I took my high bust* measurements, divided it by 2 to get the width of the top when laid flat. So my high bust measures 30", and when divided by 2 is 15". But because of the elastic band, you want the width to be shorter than 15". I guesstimated 12" so ...

first i ripped the side seams and then snipped off a total of 3" (1.5" from both ends). Finally I rejoined the side seams to make the tube whole again.

*High bust measurements taken around the body above the bust (where you want your tube to sit), across the widest part of the back, under the arms.

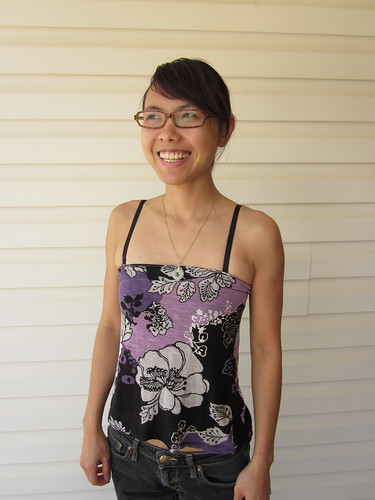
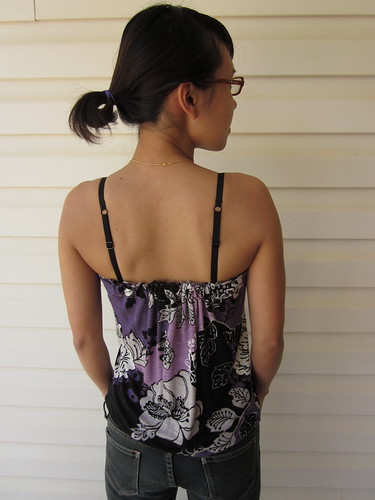
Here's the resulting top!

IMG_2135

IMG_2134

Nothing fancy, but i get to wear the prints I like in a style that is more flattering on me! Yay!!!

Tuesday, May 17, 2011

Crafting on a Monday: Bloodshed for a tote

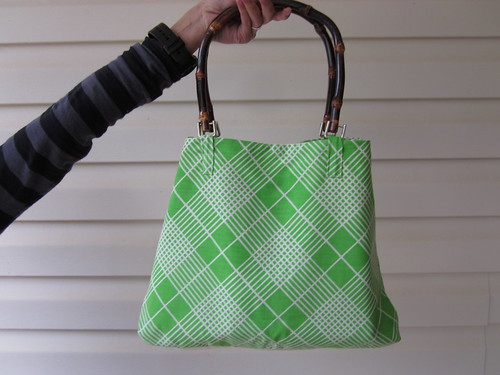
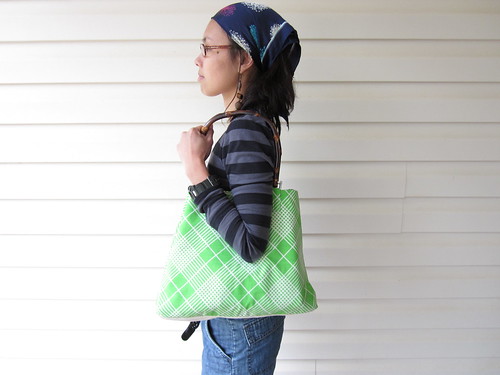
I bought some upcycled bed linen off Etsy and used it for this...

IMG_2078

This is a first, sewing a bag with a base, and adding those darned wooden handles. i am pleased, but could have been neater. My sewing machine kept jamming up so i had to hand stitch the straps that held the handles. That was before I found out I could unscrew the handles from the metal hooks for easier sewing and handling. *GGAAAAHHHH*

Hand stitching through 4 layers of cotton and canvas + many pin pricks = bloodshed and tears


+++


IMG_2076

This is a much calmer me, after a whole morning of an endless tirade of expletives. I shall attempt another bag on another occasion for the shop. and then i can add in a pocket or two, and a metal clasp for closure. With some experience and more planning this time, it should be easy-peasy! i hope. *blinks*

Monday, May 2, 2011

Crafting on a Monday: Beach dress Reconstruction

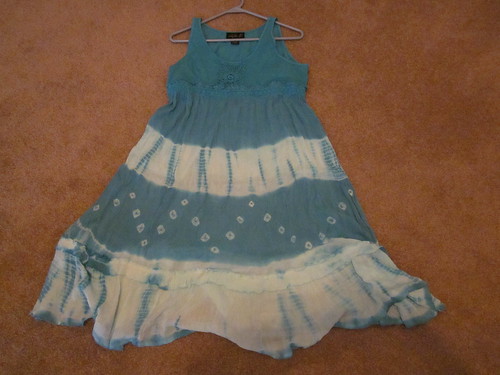
My MIL got a stash of clothes from her friend but as usual, everything was a few sizes too big. So as we sifted through the pile, imagine my excitement when I found this! I knew immediately what I could do to it!

IMG_1895

And so I begin my rogue adventure to making my very first SKIRT!

IMG_1908

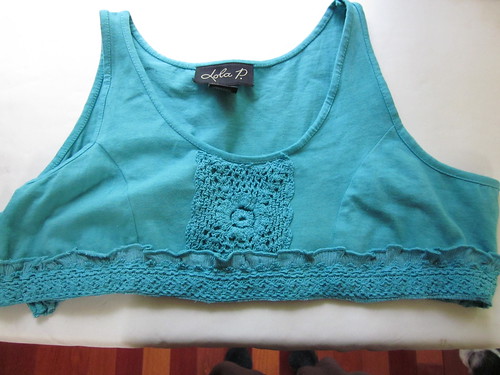
I cut off the top bit of the dress and used the rest of it.

I didn't really bother with measurements, as I said, I'm a rogue (or maybe lazy) crafter.

IMG_1896
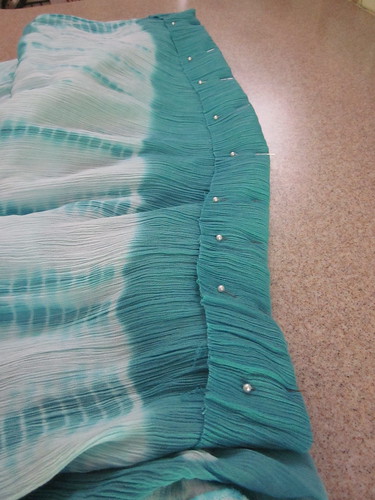
First I turned the dress inside out, then I folded the cut end in about 2", and pinned it down.


IMG_1900
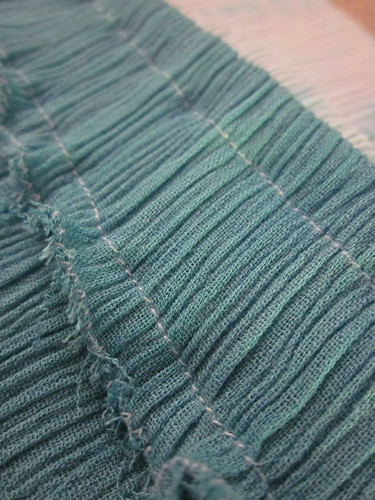
Then I proceeded to make the casing for the elastic band. I machine sewed two lines of stitching about half an inch from either end of the casing. Because the fabric was fraying at the edges from the initial cut away from the dress, I used a zigzag stitch to keep the frays in check.

I left a gap of about 2" at the lower running stitch so I can slip the elastic band into the casing. The length of the waistband to use would depend on how tight you want your skirt to be. Generally, it is about 1 to 4 inches smaller than your waistline. I took the measurement for my natural waist, because it would be further shortened when I joined the two ends together.

Attach a safety pin to one end of the elastic band and slip that end into the casing. Run the elastic band all around the skirt, but hold on to the other end at all times. I searched high and low and couldn't find a safety pin in the house (!!) and had to resort to tying a knot at one end. As a result, it took me twice as long to thread the elastic band all the way through. It was definitely the most painful part of the whole skirt-making process.

When the elastic band is threaded through, stitch the two ends together, overlapping the ends generously.

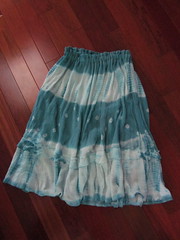
The result:

IMG_1907IMG_1902
ONE NEW SKIRT in the closet! I'm loving the final length of it!

P.S. what would you do with the top bit of the dress? I feel like it's such a waste to throw it away! I love the crocheted middle!

Friday, April 22, 2011

Happy Earth Day!

Here are some ways to love our Mother Earth!

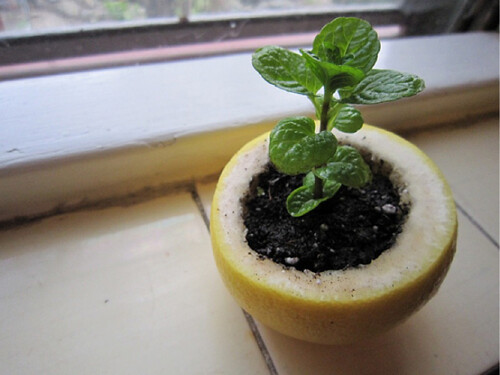
In addition to reusing egg cartons, try fruit peels! So cute!

citrus peel

Via Readymade

Buy handmade!

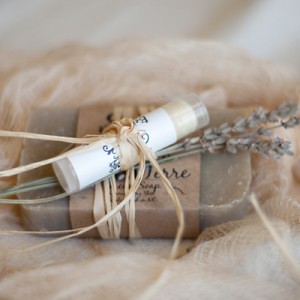
belle terre

This lady lives in NC and is living the life I aspire towards! She is planning to start an organic farm, and has an etsy store making handmade soap that are beautifully packaged! Check out her Etsy store Belle Terre

Shop 2nd hand!

Use yard sales, flea markets and thrift stores as a shopping haven to redecorate your house. You don't have to pay loads to have a stylish pad!

pauls apt

Paul's Artistically Scavenged Apartment via Apartment Therapy


Unplug electrical appliances when not in use. Did you know that power is still consumed when your electronics are plugged in even though they are turned off?

Line dry your clothes instead of using the dryer! We've hung up a line at our workplace to dry the water table aprons, instead of using the dryer, especially now that the weather is so nice and warm!

Take public transportation or ride a bicycle if possible! Leave your car at home!

Spend your money on companies and products that work towards sustainability.

And that is also why I've taken the pledge. Please do it today too!

Do you have good ideas to go green?

Tuesday, April 19, 2011

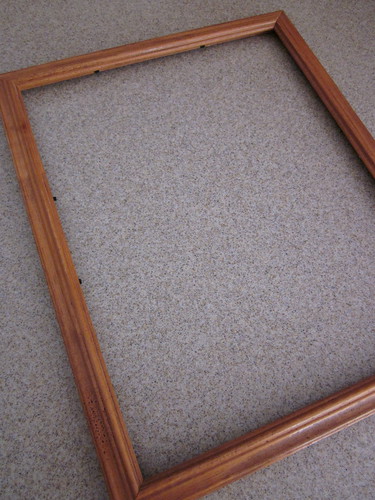
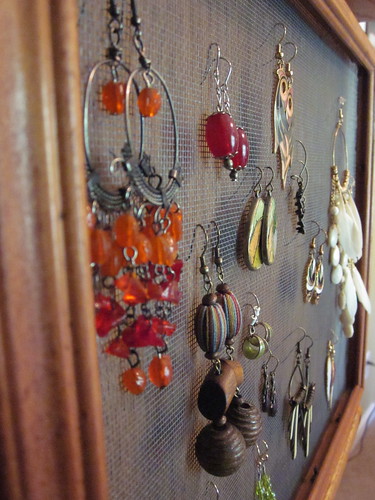
Penny Saver Tip #3: What to do with a disused photo frame?

The J-man was fumbling around in the dark one night. Only he flipped a photo frame that was hanging on the wall, along with the light switch. As a result,

IMG_1590

we have one poor frame feeling slightly abandoned.

IMG_1591

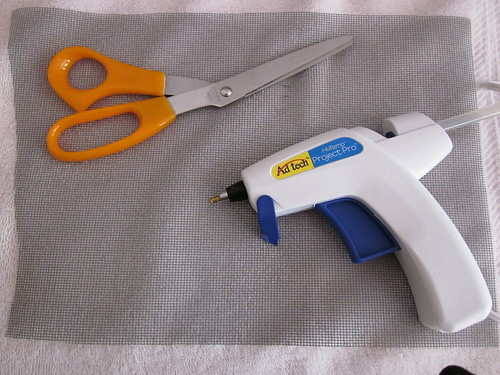
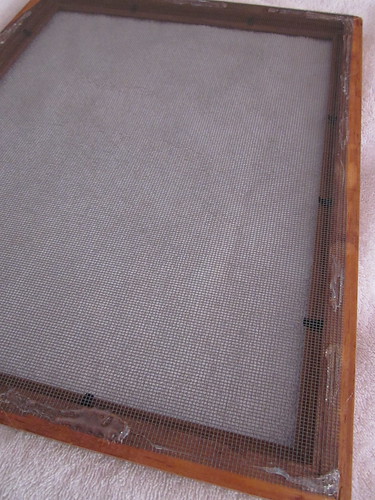
But with a screen, a pair of scissors and a handy glue gun,

IMG_1592

I made the perfect home for all my randomly strewn earrings!!

IMG_1618

Whee!!!
Related Posts Plugin for WordPress, Blogger...