Holy guacamole! It's December already!!
I haven't been wasting any time, and have been busy crafting gifts for this holiday season, although I have a feeling I'm about to run out of steam soon! For today, I'll share my first craft of December - Christmas tree ornaments for the 3 adorable kids I help babysit.
I love felt crafts. Here is an easy one you can attempt, if you're looking for quick and easy gifts to make.

1. Make a template out of cardstock. I got mine off the internet -
santa,
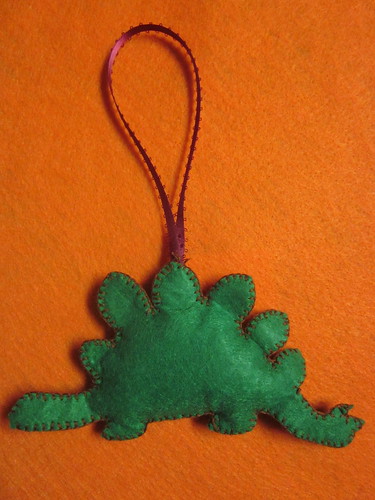
T-rex, and
owl. You can also draw your own!
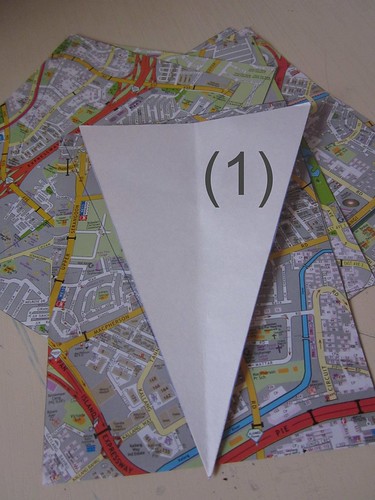
2. Trace the template onto the different colored felt pieces and cut them out.
(Now I know not all the templates I provided are templates with individual pieces. With the Santa picture, I used it as a guide to draw my own template freehand.)
3. Arrange the felt pieces in a satisfactory manner, and decide how you want to attach them. I used a combination of stitching and hot glue.

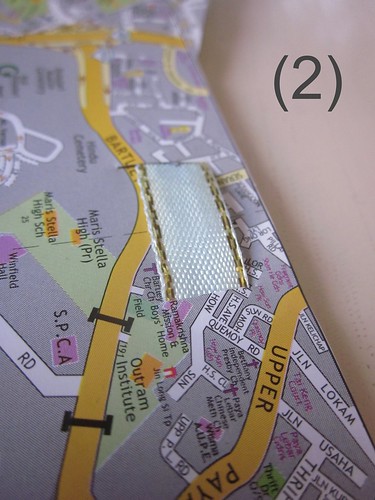
Take the T-rex for example. It is only made of 2 main pieces, so I decided to blanket stitch all around. Starting in the middle at the top, I attached a ribbon (for hanging on the tree) to the felt using needle and thread, and started my blanket stitching from there.
For the Santa, I used running stitches for his eyes and mouth, before blanket stitching his beard together. This way you can hide your stitches on the inside! Then I used the glue gun to hot glue his nose to his face, and his face to his beard. Use your own discretion when putting the pieces together.
4. Finally, if you like, you can add a little stuffing to give your ornaments a 3D effect!
These ones are ready to be tossed into their goody bags! I also added fun stuff like bubbles, activity/story books, kiddy snacks and stickers! Can't wait to watch them hang their ornaments on their tree!
I'm going to make some more for our Christmas tree (when I get a break)! Meanwhile, have fun making yours!
Oh and I'm doing a button swap with Melissa Ashley of
the 25th Hour. Go check out her page if you're interested in doing a button swap too!

Linking up here too! Come join the crafty fun!