Friday, December 28, 2012

2012 - A Year in Review


I hope you all had a beautiful Christmas. In a blink of an eye, 2012 is coming to a close. Facebook has this "2012 - Year in Review" thing that I thought I'd take a look at, which then brought about this post.


Looking back, my year has been more fulfilling than I'd give it credit for! I didn't realise or even remember there being so many achievements I could be proud of, and moments to remember. I'd like to share them, also just so I can look back at the end of next year and be inspired.

(P.S. How meaningful too because this is my 300th post!!!)


Here we go then, 2012 -- A Year in Review!


-----------------------------------------------------------------------------------------------


IMG_6870
- Scuffy -

J and I never believed it was possible to have any more room in our hearts, 
but along came this little one!


Photobucket
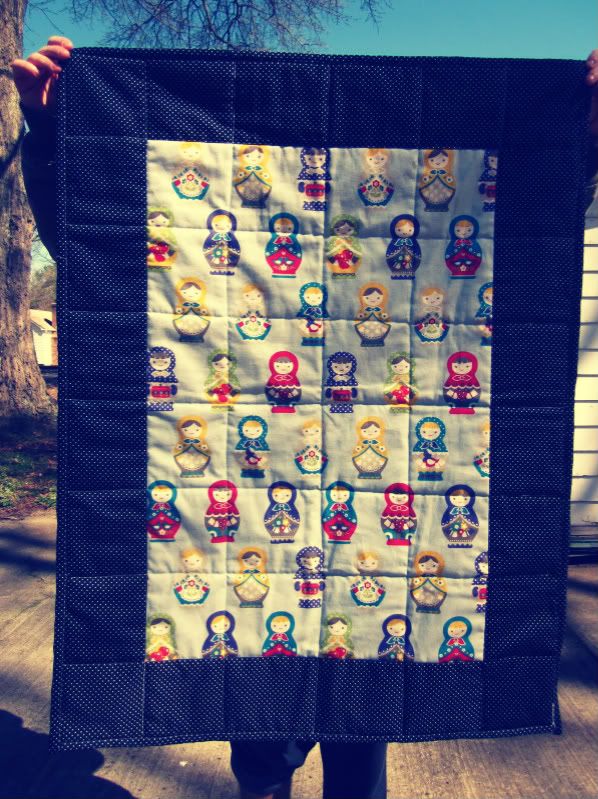
- Quilts -

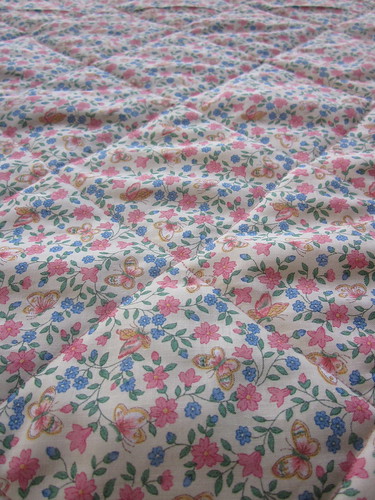
From baby sized, to lap quilts, to QUEEN sized ones!


IMG_6336
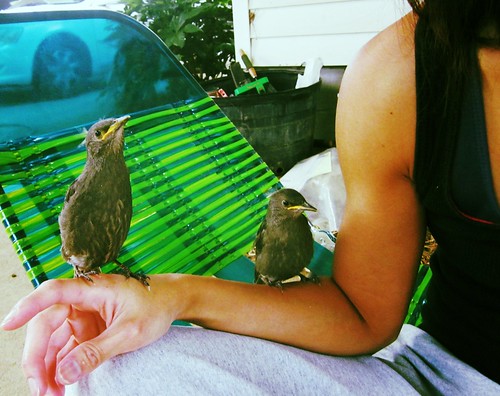
- Birding -

Played Mama Bird and nursed 3 orphaned starlings back to health


color4
- The Color Run -
I ran 5km!


IMG_7467
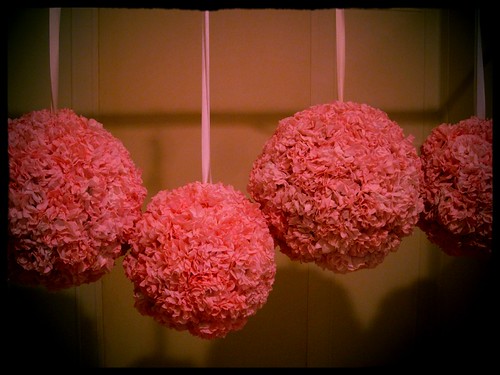
- A Myriad of Crafts -

From pomanders to aprons to my owl Halloween costume to Christmas stockings
I've grown a little braver in experimenting different types of crafts!


brandywine
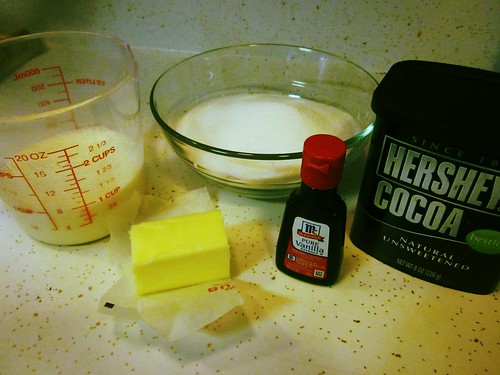
- Cooking -

I tried out more recipes than I care to admit! 
I'm becoming quite the little chef myself, I'd say!! 
Very impressive, for someone who hates to cook!


I hope you'd do the same and look back on your year. 
May you find lots of moments to treasure and 
May your 2013 be fruitful, filled with happiness, love and great experiences!

Tuesday, December 25, 2012

Celebrations : Merry Christmas!


Ho! Ho! Ho!
Scuffy wishes one and all a Merry Christmas!
This is his first ever, so he got one of his gifts early!


Our gifts are all wrapped up and ready to go!! 
We're spending Christmas at J's parents this year, on the horse ranch. 
We hope everyone has a wonderful time this special season, 
and hope to see your posts soon!


May you have a blessed Christmas with your loved ones, 
and a great 2013 ahead!!

Sunday, December 23, 2012

Crafting : Tis the season to be gifting!


Made a whole bunch of Christmas coasters for the co-workers.


Some more home-made ornaments for the tree


My intention was to embroider Christmas cards this year. But I only got done with one. 
And that was a birthday card for my pug-loving friend. Next year I'll start early!


2 more days to Christmas!!


Tuesday, December 18, 2012

Recipes : Chocolate Fudge for Christmas!


One week to Christmas!!!

I love and hate this holiday season because there's too much yummy goodness around to resist!

Here's one easy recipe I attempted for a Christmas party.

Caution: Super easy recipe and super addictive!

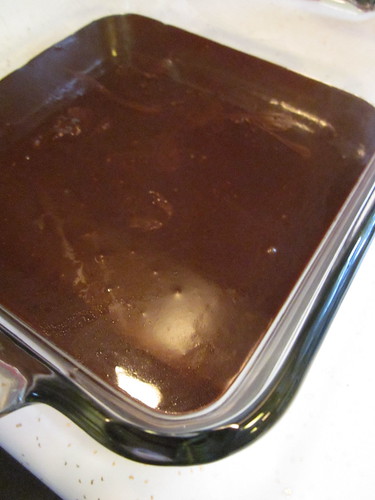
IMG_8145

Ingredients

2 cups white sugar
1 cup milk
1/2 cup cocoa
4 tablespoons butter
1 teaspoon vanilla extract


Grease a 8x8 inch square baking pan and set aside.

Mix the milk, sugar and cocoa in a saucepan.

Keep stirring and bring the mixture to a boil.

When it starts boiling, stop stirring, and reduce heat to a simmer.

Place a candy thermometer in the mixture and cook until 238F. My candy thermometer has a marking for 'Soft Candy' at 238F. So I guess that's what you're aiming for.

Remove from heat and stir in vanilla extract and butter. Beat the mixture until the butter has melted and thoroughly mixed in. You don't want to stir it too long, because then the mixture will cool and harden.

IMG_8153

Pour the mixture into your greased baking pan and let it cool.

When it has hardened, cut into tiny squares to serve!!


Saturday, December 15, 2012

Crafting : Martha Stewart's Christmas Stockings

Martha Stewart sent me an email. Oh-kay. Martha Stewart DOT com sent me an email, with a tutorial on how to make Christmas stockings. And just in time too, because this is Scuffy's first Christmas, I wanted to make stockings for our little Russell family.


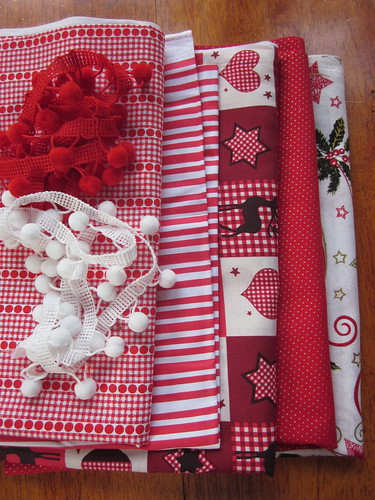
This is the tutorial for her Christmas stockings. But I decided that I didn't want to make mine out of felt, so I hopped over to the craft store to get some pretty Christmas fabric and trimmings, and they were on 50% sale!!

IMG_8139

I also added batting to my stockings, just because i like soft squishy ones.

And some pom-pom trimming to make it fun!

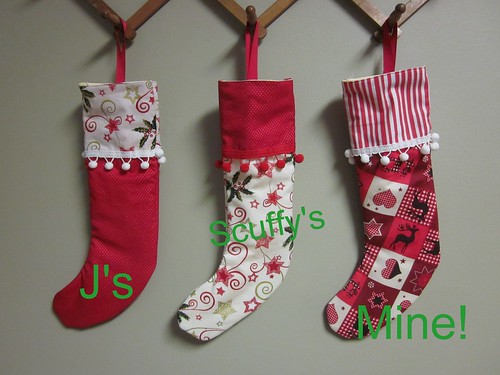
IMG_8142

Ok, so the stockings didn't turn out to be too spacious, i think we can only stuff it with candy canes and perhaps gift cards. But, they look pretty neat on my hat rack!

Yay for quick and easy Christmas crafts!

Tuesday, December 11, 2012

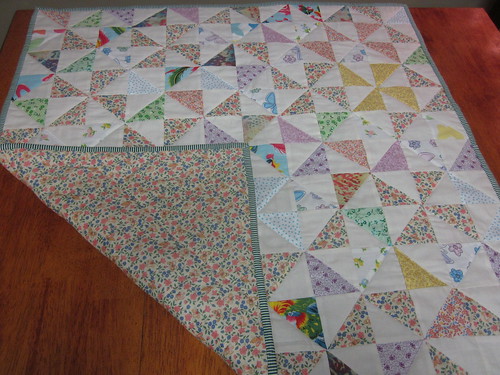
Crafting : Scrapbuster Pinwheel Quilt

Today I'm going to share my next December craft - a square lap quilt for cosy nights, hot chocolate and reading by the fire!

In this quilt:

1. I tried out the traditional pinwheel quilt pattern.
2. I made my own binding (2nd to date!)
3. Attempted mitered corners!
4. I refined my quilting techniques such as minimizing bunching up as I laid out my quilt sandwich.
5. This project is a good scrap buster! I used up a good bit of my scrap fabric lying around.


IMG_8007

Assembling the pinwheel squares:

1. I cut out 72 pieces of 3 7/8" squares of plain fabric and 72 pieces of 3 7/8" squares of printed fabric.

2. Take one plain square and one printed square and align them with right sides facing.

3. Draw a diagonal line on one of the wrong sides of this pair of fabric.

4. Sew 1/4" away on both sides of this diagonal, and then cut the fabric down the diagonal.

You should get 144 squares made up of one plain and one printed fabric. This is your basic block. Now arrange them to your taste by putting 4 blocks together to create a pinwheel block, like the ones pictured above. You should end up with 36 pinwheel blocks.


IMG_8010

Now to assemble the quilt top (all with 1/4" seam allowance):

1. Stitch 6 pinwheel blocks in a row. You will have 6 rows.

2. Then stitch the rows together. You will end up with a square quilt top, 6 blocks by 6 blocks.


And then assemble the quilt by laying the batting between the quilt top and the quilt backing, like a sandwich. The quilt top and quilt backing should have their right sides facing out.

I've learnt from past experiences to safety pin my quilt sandwich at regular intervals, all over the quilt, to prevent the batting from bunching up on the inside.

When you are sure you got your quilt sandwich laid out as flat as you possibly can, you can proceed with stitching the sandwich together to secure the batting in place.

IMG_8019

I have chosen to stitch-in-the-ditch by sewing over the existing stitches of my blocks, so it looks like this on the back.


IMG_8031

Align and pin the binding so the raw edges meet the edges of the top of the quilt. Start the binding on one side of the quilt, but in the middle. Leave a tail of about 5" to 8" on both ends, but leave about a 3" gap between the binding tails. Like in the picture above.


Here I'm going to attempt to explain how I miter my corners. Remember this is my first attempt:

IMG_8034

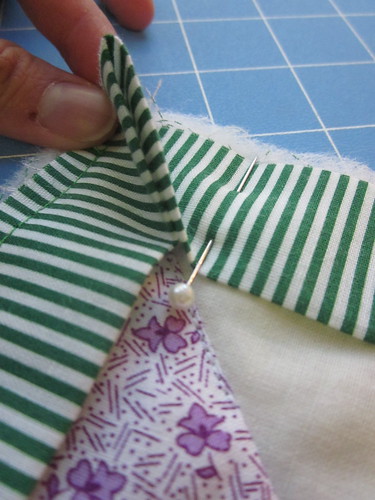
When pinning the binding to the quilt top, leave an excess triangle when you come to a corner. This will give you enough binding to work with when you flip the binding over to the back of the quilt. Pretend you are pinching a triangular corner.

Once the pinning is done, sew the binding to the quilt top with a 1/4" seam allowance. When you reach the end, lay the two tails flat on the quilt and mark where the two ends meet. Sew the binding together (not on the quilt) at the mark, and trim off excess. Then sew the binding onto the quilt, like before, with a 1/4" seam allowance.

Trim excess batting bulk before turning the binding to the other side. I find pressing the seams as I flip the binding helps a lot!


IMG_8037
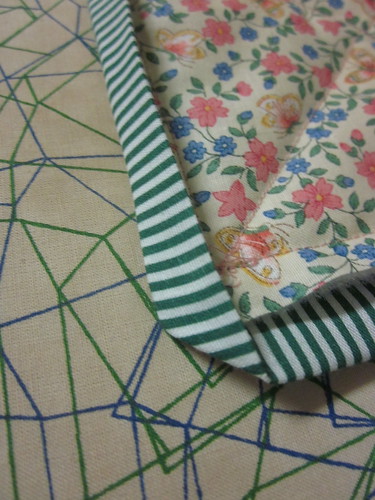
Here's how I attack the corners. Attempt one side of the quilt at a time!
Press and fold one side of the binding down first.


IMG_8038
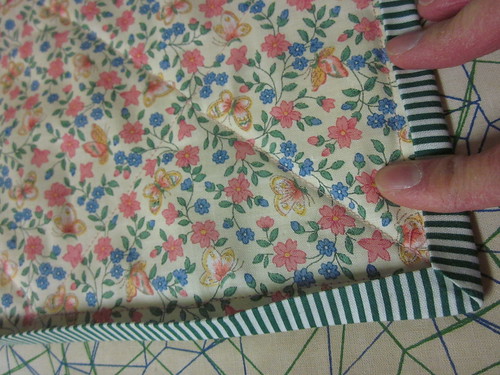
Then press and fold the other side down. It should fall in place nicely!


IMG_8039
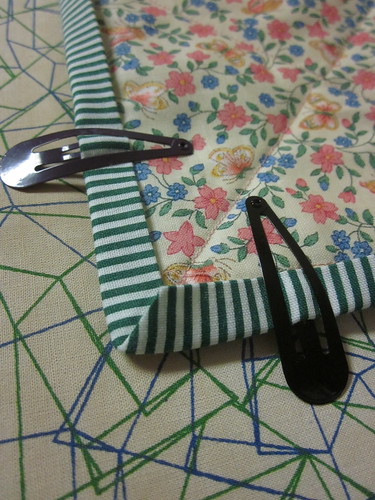
Secure with binding clips ( or in my case, hair clips!) Then carefully hand sew, with slip-stitching, the binding to the back of the quilt!


IMG_8042

Ta-daa! I'm ready for the cold winter nights!


Linking up to some crafty fun here!


Friday, December 7, 2012

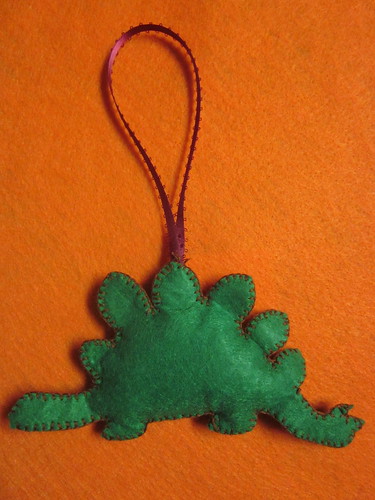
Crafting : Christmas tree Felt Ornaments

Holy guacamole! It's December already!!

I haven't been wasting any time, and have been busy crafting gifts for this holiday season, although I have a feeling I'm about to run out of steam soon! For today, I'll share my first craft of December - Christmas tree ornaments for the 3 adorable kids I help babysit.

I love felt crafts. Here is an easy one you can attempt, if you're looking for quick and easy gifts to make.


IMG_8062

1. Make a template out of cardstock. I got mine off the internet - santa, T-rex, and owl. You can also draw your own!

2. Trace the template onto the different colored felt pieces and cut them out.

(Now I know not all the templates I provided are templates with individual pieces. With the Santa picture, I used it as a guide to draw my own template freehand.)

3. Arrange the felt pieces in a satisfactory manner, and decide how you want to attach them. I used a combination of stitching and hot glue.


IMG_8064

Take the T-rex for example. It is only made of 2 main pieces, so I decided to blanket stitch all around. Starting in the middle at the top, I attached a ribbon (for hanging on the tree) to the felt using needle and thread, and started my blanket stitching from there.


For the Santa, I used running stitches for his eyes and mouth, before blanket stitching his beard together. This way you can hide your stitches on the inside! Then I used the glue gun to hot glue his nose to his face, and his face to his beard. Use your own discretion when putting the pieces together.


4. Finally, if you like, you can add a little stuffing to give your ornaments a 3D effect!

IMG_8069

IMG_8070IMG_8071


These ones are ready to be tossed into their goody bags! I also added fun stuff like bubbles, activity/story books, kiddy snacks and stickers! Can't wait to watch them hang their ornaments on their tree!

I'm going to make some more for our Christmas tree (when I get a break)! Meanwhile, have fun making yours!


Oh and I'm doing a button swap with Melissa Ashley of the 25th Hour. Go check out her page if you're interested in doing a button swap too!


Linking up here too! Come join the crafty fun!


Saturday, December 1, 2012

Watching : Anna Karenina


I might be a little slow on the uptake, it says that the US release date was November 16th but I could've sworn I never heard about it till now! This had been on my to-read list forever, but now that it's a movie, I'm afraid i'll have to watch it first! Have you seen the size of that book??? Anyway, Jude Law is in it. So I think I'll override my usual "read-the-book-before-the-movie" rule. I totally love Jude Law! Has anybody watched it?


Related Posts Plugin for WordPress, Blogger...