
This shirt has never been worn before. I bought a size too small for him. Well, actually it was just nice, but he insisted the belly showed. So, he never wore it. Hmph.
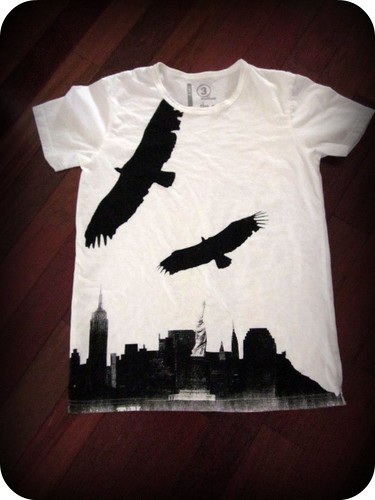
I liked the print on this shirt, and I love racer back tops.
So, I got out my seam ripper (insert sinister laughter)
First, i ripped the seams of the sleeves, and took the sleeves off.
Then I ripped the side seams. And last I ripped the collar seams and removed the collar.
All that's left holding the front and back of the shirt together are the shoulder seams. By keeping the shoulder seams together, you can easily pull it over your head and 'wear' it to measure out how much excess material you need to trim off. I did that and pinned the sides together while wearing it, to give it a snug fit. Then, without removing the pins, i (very, very) carefully took the shirt off by pulling it over my head again.
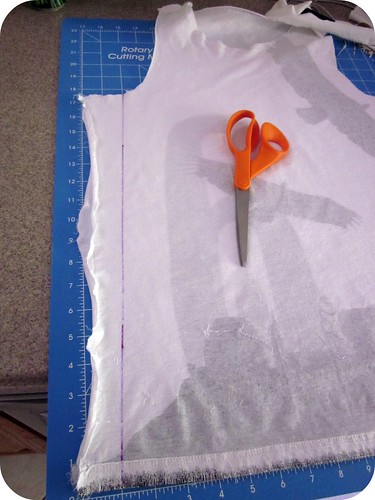
From my pinning measurements, I drew a line down the shirt, cutting off two inches at the top down to one inch at the bottom (see photo for clarification). This is so the shirt will taper inwards, giving it a more feminine shape (i hope!)
I also decided i wanted the back panel to be narrower, more like a racer back if you know what i mean. And because only the shoulder seams are intact, i could flip the front part of the shirt away from me and concentrate on the back.
I folded the back panel in half lengthwise. Then proceeded to trim off the excess material. I took a wild stab, no measurements needed or it really depends on how you like it to look.

Now to put the top back together again. Pin the shirt with right sides together. Sew the edges of the sides together. Now my shoulder seams were looking a little rough, and i was afraid after seam ripping near it, the seams would start to fall apart. So I cut off the shoulder seams, pinned it and re-sewed the shoulder seams together.
I apologise for the lack of photos, and if the instructions are not very clear. I was too impatient and excited, i forgot to take photos along the way. Feel free to add comments on how to make this tutorial clearer!
Anyway, here is the end product! Yaay! One more new piece in the wardrobe. I might just make it for the next Me-Made Challenge!

Daisy approves too!
Oh yes, don't forget to enter the giveaway, if you haven't already!
Love! This gives me another idea for a dress I'm looking to keep but can't wear the way it was made because it's not flattering... :)
ReplyDeleteI love this so much!! That looks great on you! I have been trying to alter more clothes because I am bored with the current things in my closet. You give great tips! :)
ReplyDelete@ T E Do it! and tweet it when you're done!
ReplyDelete@ HazelandMare aww thanks! You should try it too! Saves money while adding new additions to the closet!
ReplyDeleteGreat job on this ! you look fantastic.
ReplyDelete@ KJ@letsgoflyakite
ReplyDeleteWhee! Thank you!
Great simple tutorial! The result came out great!
ReplyDeletei just found your blog....this is a great tutorial! i can't wait to try it sometime!
ReplyDeleteVery cool! Love the look of your new tank!
ReplyDeleteshannonsews.blogspot.com