
In this quilt:
1. I tried out the traditional pinwheel quilt pattern.
2. I made my own binding (2nd to date!)
3. Attempted mitered corners!
4. I refined my quilting techniques such as minimizing bunching up as I laid out my quilt sandwich.
5. This project is a good scrap buster! I used up a good bit of my scrap fabric lying around.

Assembling the pinwheel squares:
1. I cut out 72 pieces of 3 7/8" squares of plain fabric and 72 pieces of 3 7/8" squares of printed fabric.
2. Take one plain square and one printed square and align them with right sides facing.
3. Draw a diagonal line on one of the wrong sides of this pair of fabric.
4. Sew 1/4" away on both sides of this diagonal, and then cut the fabric down the diagonal.
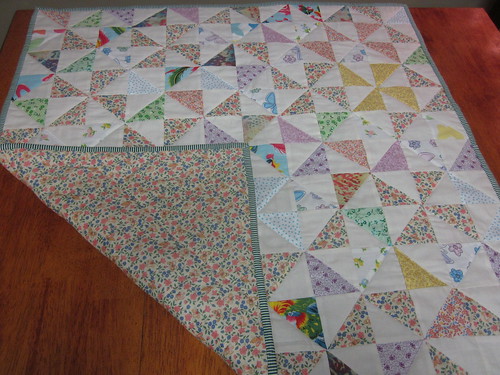
You should get 144 squares made up of one plain and one printed fabric. This is your basic block. Now arrange them to your taste by putting 4 blocks together to create a pinwheel block, like the ones pictured above. You should end up with 36 pinwheel blocks.

Now to assemble the quilt top (all with 1/4" seam allowance):
1. Stitch 6 pinwheel blocks in a row. You will have 6 rows.
2. Then stitch the rows together. You will end up with a square quilt top, 6 blocks by 6 blocks.
And then assemble the quilt by laying the batting between the quilt top and the quilt backing, like a sandwich. The quilt top and quilt backing should have their right sides facing out.
I've learnt from past experiences to safety pin my quilt sandwich at regular intervals, all over the quilt, to prevent the batting from bunching up on the inside.
When you are sure you got your quilt sandwich laid out as flat as you possibly can, you can proceed with stitching the sandwich together to secure the batting in place.
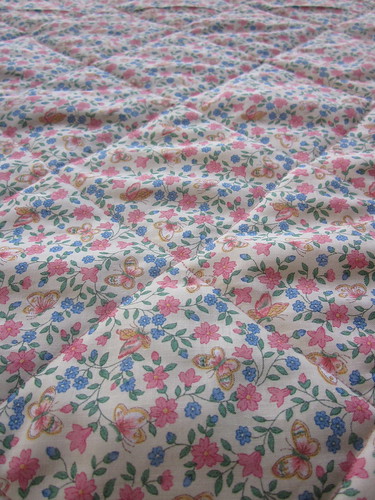
I have chosen to stitch-in-the-ditch by sewing over the existing stitches of my blocks, so it looks like this on the back.

Align and pin the binding so the raw edges meet the edges of the top of the quilt. Start the binding on one side of the quilt, but in the middle. Leave a tail of about 5" to 8" on both ends, but leave about a 3" gap between the binding tails. Like in the picture above.
Here I'm going to attempt to explain how I miter my corners. Remember this is my first attempt:
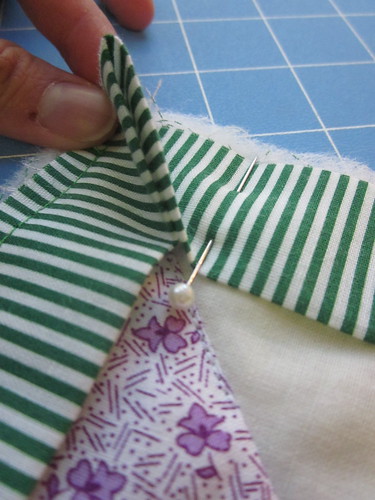
When pinning the binding to the quilt top, leave an excess triangle when you come to a corner. This will give you enough binding to work with when you flip the binding over to the back of the quilt. Pretend you are pinching a triangular corner.
Once the pinning is done, sew the binding to the quilt top with a 1/4" seam allowance. When you reach the end, lay the two tails flat on the quilt and mark where the two ends meet. Sew the binding together (not on the quilt) at the mark, and trim off excess. Then sew the binding onto the quilt, like before, with a 1/4" seam allowance.
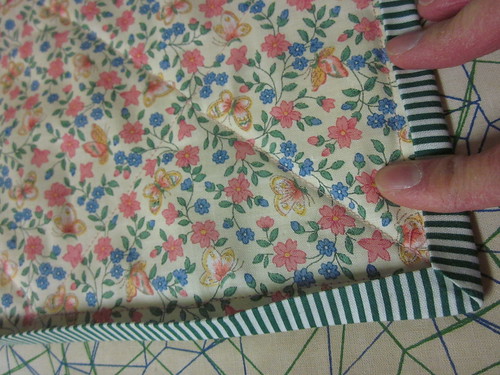
Trim excess batting bulk before turning the binding to the other side. I find pressing the seams as I flip the binding helps a lot!
Here's how I attack the corners. Attempt one side of the quilt at a time!
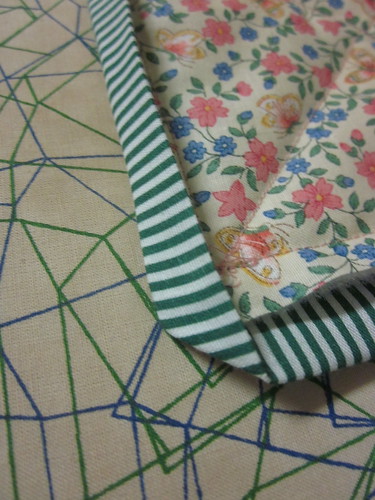
Press and fold one side of the binding down first.
Then press and fold the other side down. It should fall in place nicely!
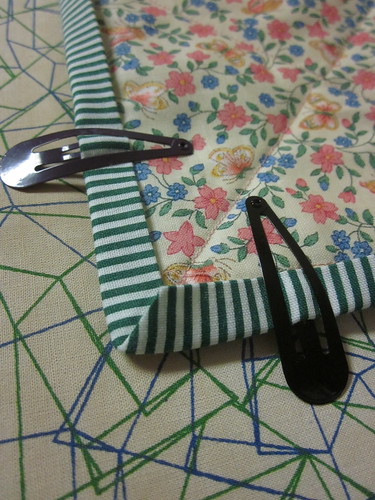
Secure with binding clips ( or in my case, hair clips!) Then carefully hand sew, with slip-stitching, the binding to the back of the quilt!
Ta-daa! I'm ready for the cold winter nights!

Linking up to some crafty fun here!
Oh it's gorgeous! I wish you lived close so you could teach me to sew.
ReplyDeleteI wish I had the patience for quilting! Is it weird that I think the bottom of the quilt is just as beautiful as the top?
ReplyDeleteThe fabric you used for the backing is really lovely. I've never made a 3 layer quilt - I've made a few 2 layer ones, but next year I'm definitely making one for myself!
ReplyDeleteWow this is beautiful! I've never made a quilt, or anything close, but a few of my friends are avid quilters - I'll have to pass this along!
ReplyDeleteI love this! I have seen soooo many blog entries about quilts and stuff but I haven't really tried to do it. Maybe soon, I finally will! I just have to fill in my inspiration jar to start doing. Thank you for filling it! :P
ReplyDeleteGreat job! What a fun project! I need to finish my first quilt too. Hopefully this week :)
ReplyDeletedang girl! That is super impressive! It turned out so well.
ReplyDeleteThis is just beautiful!!! Wow!! I've been hinting for a sewing machine for Christmas, so I'm super excited to see that you're doing sewing tutorials. This must have taken a long time to make, and it is just lovely. Great tip to use the hairclips! :)
ReplyDelete